Continental U.S. only.
Continental U.S. only.

The art of dying any sort of fabric is made up of a simple process. Anyone can master the art. Most people only encounter difficulty solely in binding the dye, itself, with a chosen material. Many causes can prevent dye from setting in the fabric. You could have a problem in the dying, or the color could be affected by incorrect manners of scouring and mordanting. These are terms you will be familiar with after reading this informative and detailed guide.
Luckily, we have already chosen a fabric. Flour sack DIY crafts are usually made of cotton cloth, or cellulose-based plant fibers, which can be problematic to dye. At a microscopic level, cellulose-based plant fibers, such as cotton or linen, are not very porous and are, therefore, very stubborn to catch and retain dyes. These materials are not very colorfast, meaning they do not naturally saturate color well. This guide will walk you through locking color in stubborn fabrics, like a flour sack, in order to make dyed flour sack dish towels.
Important tip: Vintage or used fabric, instead of brand new, adheres best to dye, because the material is older and will most likely have been washed many times before, and therefore will carry less wax then brand new cellulose-based plant fibers.
Consider, for flour sack DIY crafts especially, using a dye rich in tannins. Tannin-rich dye attaches itself to plant-based fabric materials extremely well. Some tannins even void out the process of applying a mordant, as the tannin-rich dye will adhere to the fibers all by itself. A dye rich in tannins means it will appear more saturated, with a greater colorfastness. Some household items are rich in tannins and can be used to dye a variety of fabrics and materials.
Following our simple, easy-to-digest, three-step guide, you should end up with the most beautifully dyed flour sack dish towels. Tweak or change any step to your own pleasing and individual requirements. The art of dying fabric is highly subjective, depending on one's equipment and material.
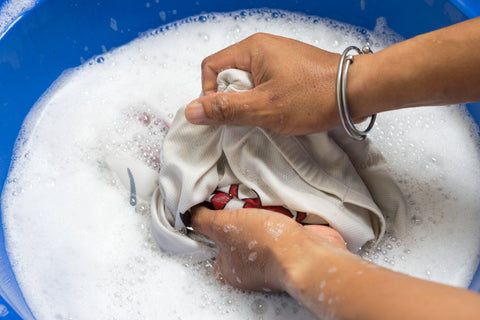
To scour any type of fabric is to pre-wash all of it and remove residue that might affect the process of dying, like dirt, grease, and dust. Scouring your material is important because it helps dye more thoroughly adhere to fibers, and further saturates color. Mild dishwashing detergent is acceptable to use for scouring a number of types of different fabric, for scouring flour sack towels, however, you should always use soda ash. Regular washing ash can likewise be used but isn't nearly as aggressive, nor as effective, as soda ash.
First, machine wash your flour sack dish towel in a washing machine. The washing machine settings should include a long wash cycle with very hot water. If any, make sure to use non-bleach washing powder and do not use any fabric softeners.
Next, fill a stainless steel cooking pot up with about 5 liters of water, roughly. Filling the pot up anymore may risk the water boiling over. You should weigh out your soda ash, now. About 35 grams will suffice for an average-sized flour sack towel. Once that's done, do not add water to the soda ash. Slowly and very carefully add it to the boiling pot, instead.
After all of the bubbles start to clear up, it's time to add the fabric. Place your still wet flour sack dish towel into the pot of boiling water. Lightly stir using a long wooden or stainless steel spoon or similar utensil. Adjust the heat to either a slow boil or hard simmer and let the fabric boil for up to two hours, half covered by any sort of lid available. Every 15 minutes you should stir the pot to ensure the fabric is being evenly and adequately scoured.
When around two hours have passed, remove the pot and allow it to cool before pulling out your flour sack towel. You'll notice that the water has probably turned a grimy brown or matte black. Don't be alarmed. Every piece of fabric is covered in microscopic particles, undetectable by the human eye. If the scouring water turns out too brown or black, repeat the same process, but with fresh water and soda ash, until the water removed from the pot comes out mostly clear.
When all of the scouring is complete, finally rinse off your fabric. Oils and waxes used in the manufacturing of flour sack products can account for up to 35 grams of the total weight of your fabric. A flour sack dish towel covered under a layer of dirt and wear will not turn out as colorfast or nearly as saturated as a properly scoured fabric.
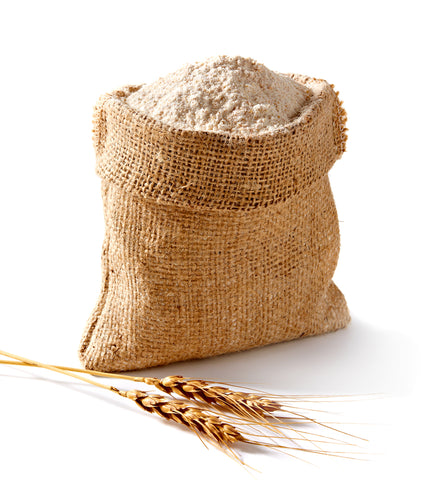
The word "mordant" refers, simply, to the procedure of masking your fabric with a particular substance that will help bond dyes to fibers. Mordants usually take the form of water-soluble metallic salt. Some Mordants occur in nature. After scouring your flour sack towel, you should apply a good mordant layer just so that the dye "sticks" better to the fabric material.
The type of mordant you use will heavily depend on your choice of fabric. Animal or protein-based fibers typically bond well with mordant containing aluminum potassium sulfate. Plant-based fibers, like those making up our flour sack towel, will bond perfectly to aluminum acetate. Afterwards, follow up with a wheat bran bath for maximum results. Imagine this step as a sort of spa day, so to speak, for your fabric material.
To start, let's soak our flour sack towels in warm water for a minimum of two hours then fill the pot up again, halfway, with regular tap water. Meanwhile, dissolve the aluminum acetate in a small container of boiling water. When it has dissolved, add the solution to the pot and stir. You won't need to heat or boil the pot, this time. Wearing gloves, you can squeeze the flour sack towel a bit while it soaks.
Leave it sitting overnight. Some Mordants require up to four days of being left untouched but an overnight soak will generally do the trick. When the fabric is ready to dye, be sure to rinse it ever so thoroughly, removing any leftover and unattached mordant. Now, your flour sack dish towel should be ready to lock in color!
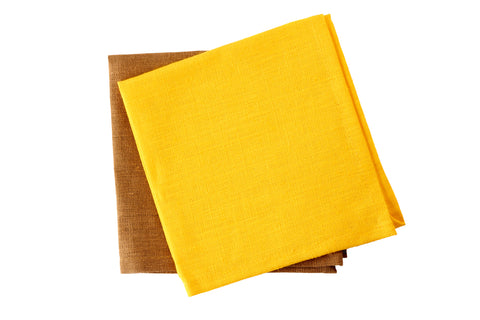
Preparing a dye bath will vary in procedure and measurements depending on your fabric's size and composition, as well as the results you wish to achieve with your dye job. Mix your dye into a large container which will hold your flour sack towel. When mixing your dye, keep in mind that water will act as the color white and either lighten or dilute your saturation of color hues. Simply put, more water will result in a less concentrated spectrum of colors.
The act of actually dying the fabric is where the most customization and artistic character is apparent. After scouring and mordanting the flour sack towel only one time, you can dye and redye the fabric as many times as you desire. This can cause some pretty interesting reactions. Dying fabric multiple times and with different colors, nonetheless, can leave you with a very complex amalgam of colors and designs. Feel free to experiment, using your own techniques, ingredients, recipes, and blends.
After a couple hours of stirring your fabric material in your pot or container full of dye, it should be ready to come out. If you followed this guide and performed each step correctly, you should be pulling out a masterfully hand-dyed flour sack towel, to use on dishes, house cleaning, or simply as a decorative piece. The choice is yours. Depending on how exactly you decided to dye your flour sack towel, you may have created a wonderfully interesting piece of art!
There you have it. In conclusion, dying flour sack towels is not a difficult task at all. In fact, it can be extremely fun and rewarding. Plus, in the end, you have created something completely unique and one-of-a-kind. Cloth and fabric dyed in factories or as a part of their manufacturing process lack the spark of individuality of flour sack DIY crafts.
As with dying any sort of fabric material, a flour sack dish towel calls for its own respective process and ingredients. Mistakes occur predominantly when choosing the correct essentials to use for dying, depending on the type of fibers making up your fabric, the type of dye being used, and the processes of scouring and applying a mordant. Following these three easy steps, however, should yield perfectly dyed flour sack towels every time. Play with and tweak all of the contributing factors at will. You might just discover a new favorite blend!
As long as you're careful about boiling water on a stove top, dying fabric is relatively safe and easy. That being said, invite your children, or the entire family, for that matter to join your dye party. After all, you can never have too many dyed flour sack towels!
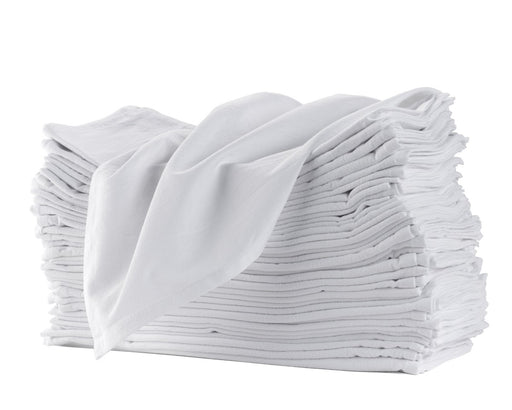
If you need red, gray, blue or black color please click here. ★ Multipurpose, available white or natural colors (unbleached), matching, wholesale ...
View full details
★ Current production time is 3-4 weeks. RE-SELLERS/WHOLESALERS/DESIGNERS: Please contact us for our wholesale prices if your volume is more than 1...
View full details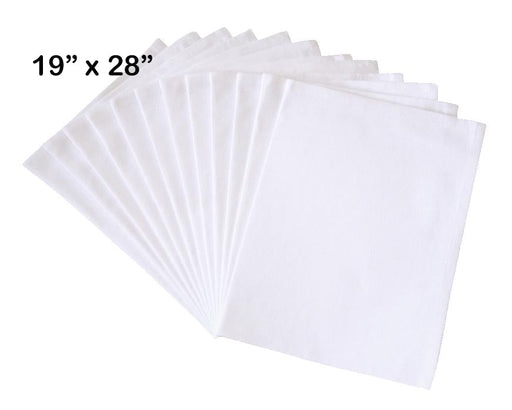
100% Cotton, comes in white (bleached) and natural (unbleached) color A uniform 19" x 28" rectangle, 130 thread count, flour sack napkins hemmed...
View full details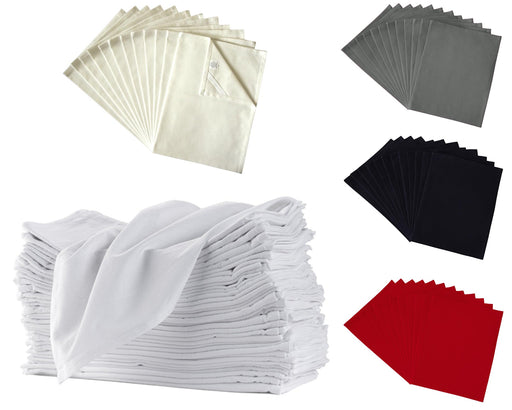
100% Cotton A uniform 27" x 27" square, 130 thread count, 3 oz each heavyweight flour sack dish towels and hemmed on all sides A corner loop for...
View full details
Attention Re-sellers, Wholesalers, and Designers: If you need to order more than 100 pieces, please contact us for our special wholesale prices. Pr...
View full details